Step-by-Step Guide to Making a Felt Bag
Felt, one of the oldest types of fabric used by humans, is still widely used today for various purposes. Thanks to its ease of processing and numerous advantages, felt stands out not only in the textile industry but also in the creation of accessories that help develop handcraft skills.
Among these accessories, felt bag making holds a special place. Its simple production process and the practicality of felt bags encourage many people to explore felt bag models as a hobby. In fact, making a felt bag is quite easy. All you need is to gather the necessary materials and follow a systematic approach. Don’t worry—our step-by-step easy felt bag making guide will help you create a felt bag that suits your personal style. Let’s get started.
Materials Needed for Making a Felt Bag
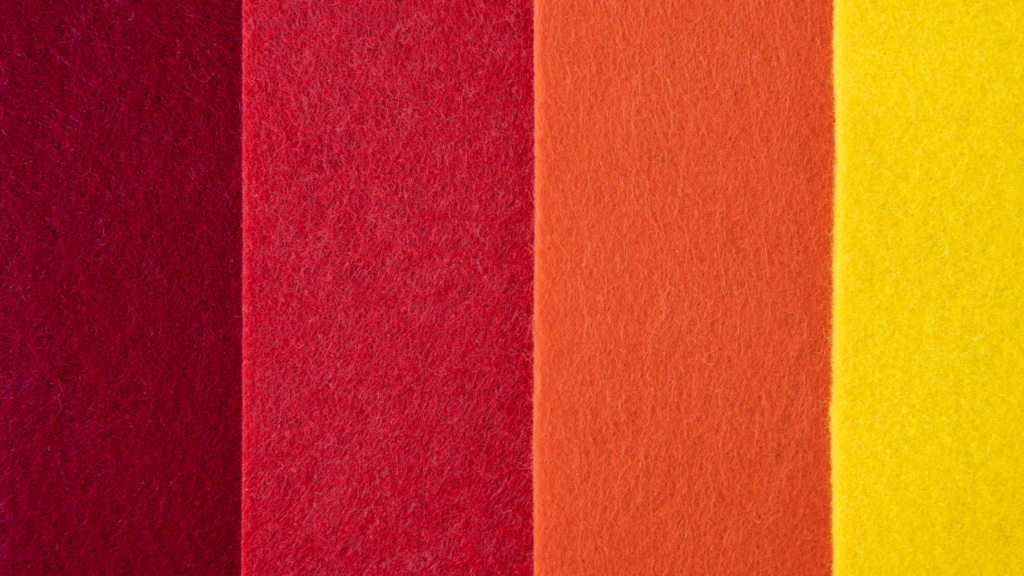
The materials required for felt bag making may vary depending on the type of bag you want to create. If you are planning to make a basic felt bag, the most important requirement is choosing felt of the appropriate thickness. Below is the list of materials you will need:
- 35 cm long, 2 mm thick felt (Optionally, 3 mm thick felt can also be used.)
- Embroidery floss
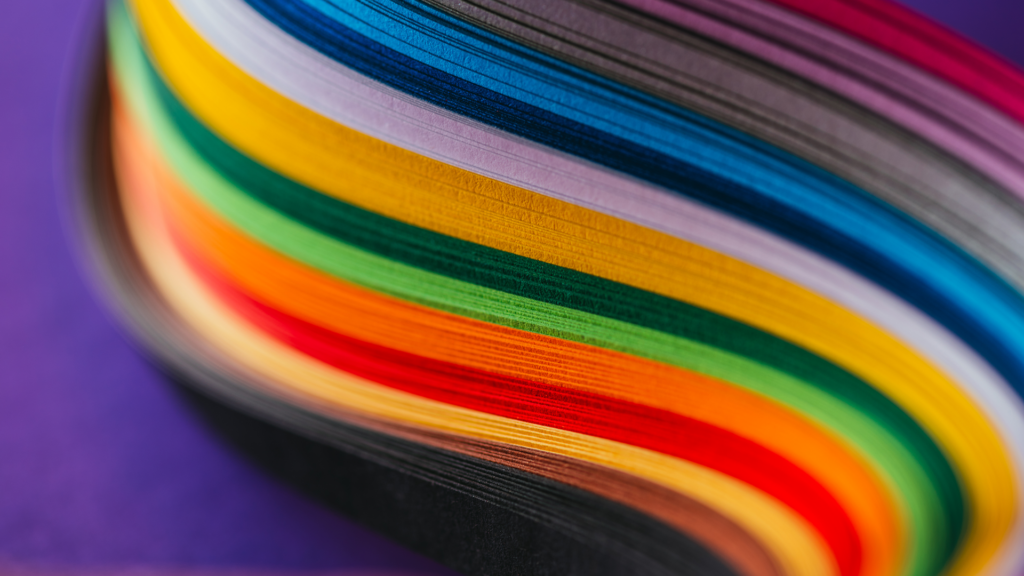
- 1 mm thick colored felt sheets for decorative elements
- Beads or decorative accessories of your choice
- Silicone adhesive (hot glue)
We particularly recommend using embroidery floss, as it makes stitching much easier. A strong adhesive is also necessary to secure felt motifs and bead-type accessories firmly onto the bag—hot glue is commonly preferred for this purpose. Lastly, keep a ruler and a ballpoint pen ready to draw patterns on the felt.
How to Make a Felt Bag
Once all the materials are prepared, follow the steps below to make your felt bag:
- Creating the Pattern: First, decide on the size of your bag and draw the pattern onto the felt according to your measurements. Round felt bags are more challenging than square or rectangular designs, so they are not recommended for beginners. Draw the pattern on the felt using a pen and carefully cut it out with scissors.
- Assembling the Pieces: Sew the cut felt pieces together using embroidery floss. It is important that the edges align perfectly and that the stitching is neat and visually appealing.
- Attaching the Handles: After assembling the main structure of the bag, it’s time to attach the handles. Make sure both handles are the same length and that stitching begins at symmetrical points on each side of the bag.
- Decorating the Bag: The final step is decoration. Use small motifs cut from colored felt or beads to decorate your bag. This stage is where your creativity truly shines. You can create embellishments from wool felt or use felt figures to design unique and personalized felt bags.
And that’s it! Your felt bag is now complete and ready to use.