How to Make a Felt Tablet Case
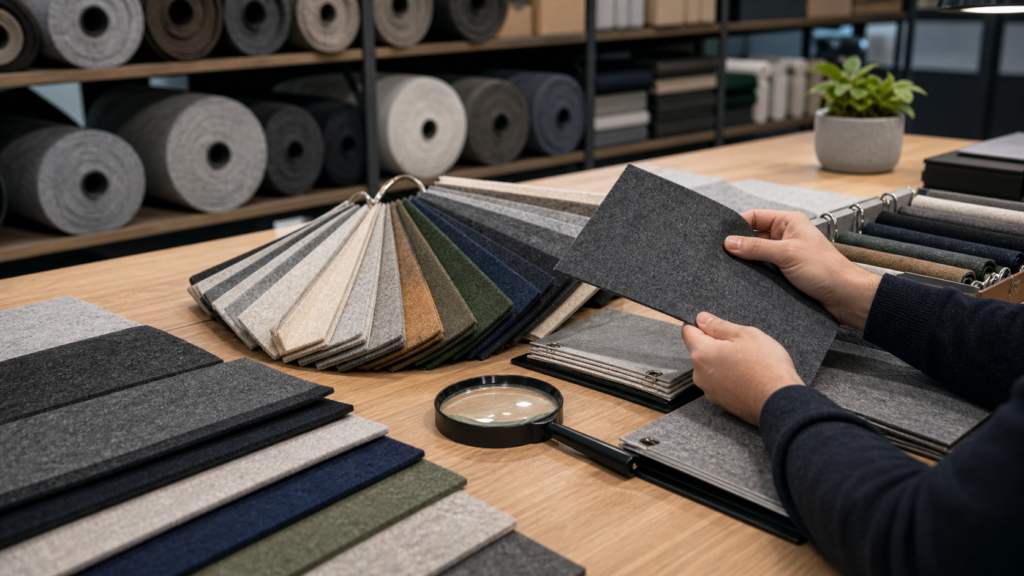
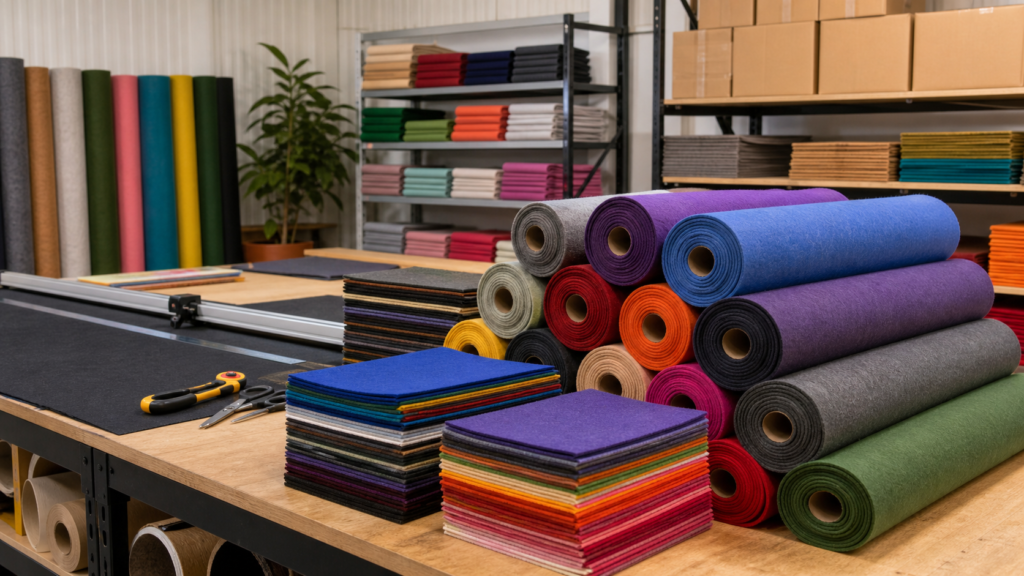
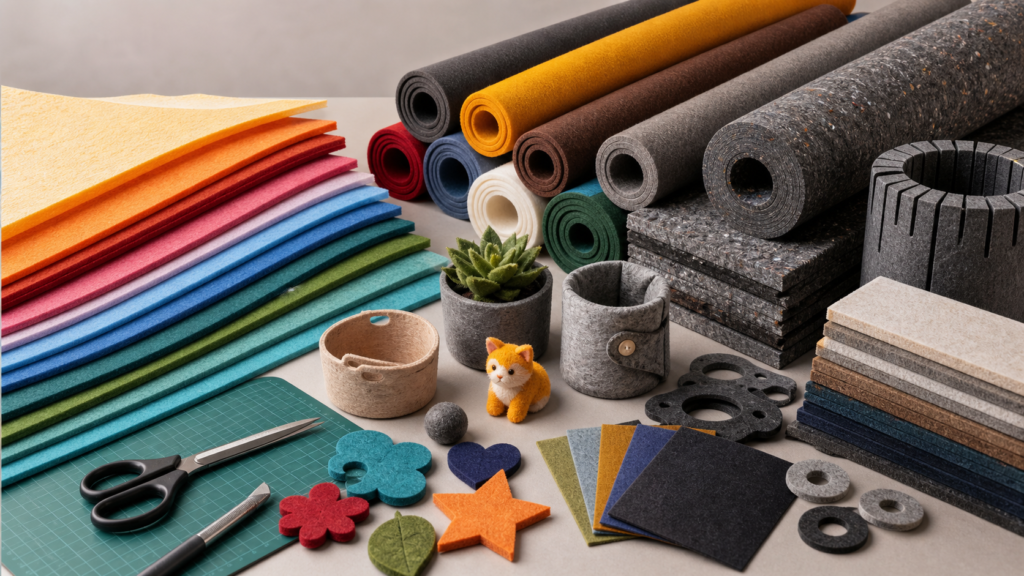
Felt is a highly versatile material with a wide range of uses. Because of this versatility, felt is extremely suitable for many different applications. Once you decide what you want to make with felt, the chances of not being able to do it are very low. What you can create with felt is limited only by your imagination. You can make many useful items from felt, and since it is a material that does not deform easily, the items you create can be used for a long time.
For example, it is entirely possible to make a felt tablet case. Wouldn’t you like to have a tablet protector at a low cost? With felt, you can create a stylish, attractive, and durable tablet case at minimal expense. Below, I will explain how to make the felt tablet case shown in the photo, step by step and with visual guidance.
How to Make a Felt Tablet Case
- First, gather the necessary materials. You will need:
- 2 pieces of felt cut to the appropriate size for your tablet, in your preferred color
- 1 piece of felt large enough to be used as a flap to close the case
- 1 smaller piece of felt to create a pocket
- Needle and thread
- 2 buttons
- 1 ruler and a piece of string long enough (leather cord can be used for a more stylish look)
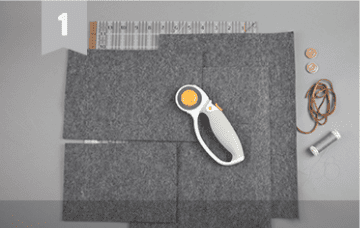
- Place the four felt pieces cut to match your tablet’s dimensions as shown in the photo above. This allows you to see the layout of your tablet case and check whether the measurements are correct. Once you are satisfied with the size and proportions, you can begin.
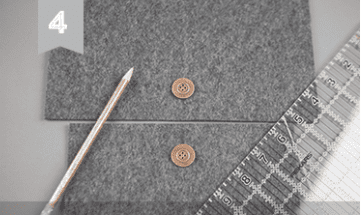
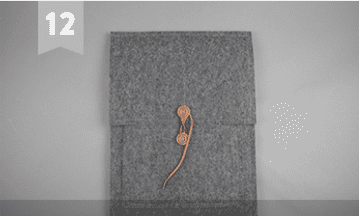
- Take the two smaller felt pieces. The smaller one will be used as a pocket, and the slightly larger one will serve as the flap. Place these two pieces on top of each other and align them to prepare for sewing the buttons.
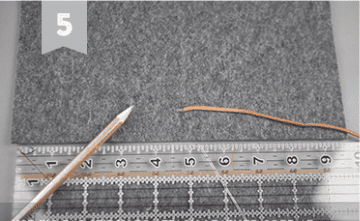
- After aligning the felt pieces, take your ruler, pen, and two buttons. Measure the felt with the ruler and mark the positions where the buttons will be sewn.
- Using a zigzag stitch, sew one end of the leather cord onto the marked spot on the top felt piece.
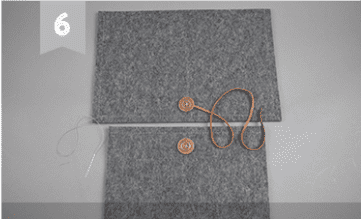
- Once the leather cord is sewn in place, attach the two buttons to the felt using sewing thread. (Make sure to sew the buttons directly over the leather cord you stitched earlier.)
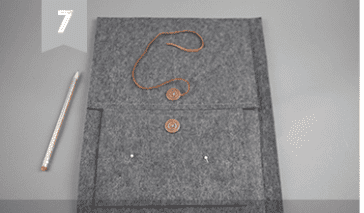
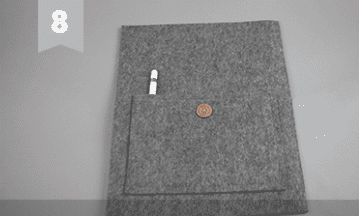
- Next, place the felt pieces you cut for the flap and pocket onto one of the two larger felt pieces (the one sized to hold your tablet).
- Set the flap aside for now. Sew the pocket piece onto one of the large felt panels. If you wish, you can also add a small compartment for a pen.
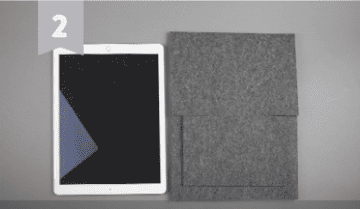
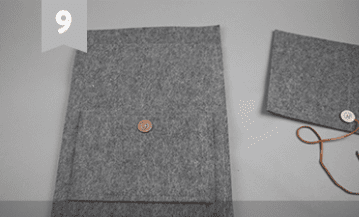
- After attaching the pocket, place the two large felt pieces on top of each other and sew them together along the edges.
- Once the two large pieces are sewn together, it’s time to attach the flap. Before sewing the flap, carefully align the felt pieces—misalignment can cause the flap to sit crooked. After adjusting the alignment, sew the flap onto the main body of the case along the edges to complete the tablet case.
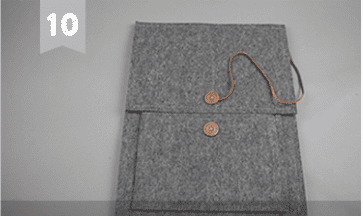
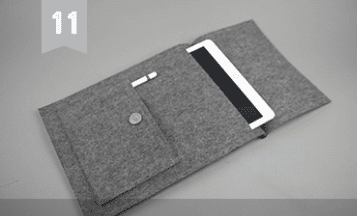
- Your felt tablet case is now finished. You can place your tablet, pen, and other items inside.
- After placing your items inside, close the flap and wrap the leather cord (or string of your choice) around the buttons as shown in the photo to secure the case.
- The felt tablet case described above is suitable for both men and women. How about making and using a case that is fun to create, cost-effective, and uniquely your own?