Making Felt House Slippers
In this article, we will explain how you can make felt slippers that you can comfortably wear at home. With felt house slipper making, you can warm both your feet and your wallet. Create slippers at home in a cozy style that suits your own taste. Making felt slippers is not difficult at all—and it’s quite fun.
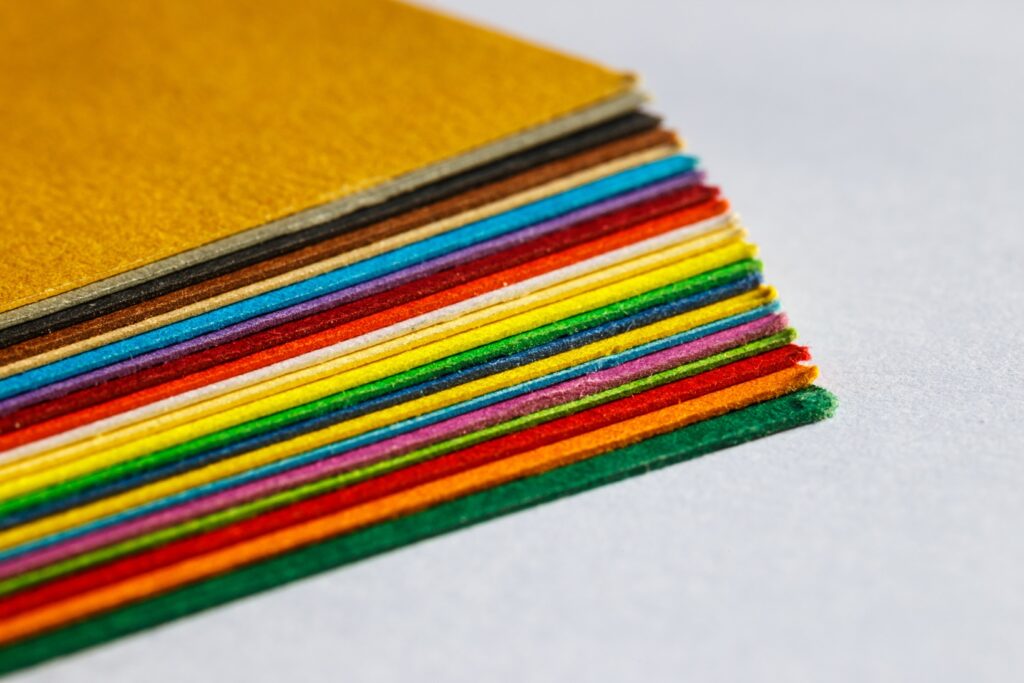
As the use of felt continues to increase, you too can make your own felt slippers. Let’s briefly talk about felt first. Felt is considered a textile product and is even accepted as one of the oldest textile materials known. Its usage has been increasing day by day, which is why we encounter felt in many areas today. Felt is a material that is resistant to heat and moisture, does not deform easily, is suitable for long-term use, and can be applied to almost all surfaces.
As you can see above, you can make your slippers using felt in any color you like and decorate them according to your personal taste. You can also adjust the heel height of your slippers as you wish. Now that we’ve talked about slippers, let’s move on to how to make them.
Before starting, we’ve listed the materials you’ll need for making felt house slippers below.
Materials Needed for Felt House Slipper Making
- Colored felt
- Slipper sole
- Scissors
- Needle and thread
- Silicone adhesive (optional)
- Pen
After preparing the materials above, you can start making your felt slippers. Below, we explain step by step how to make slippers using felt.
- Step: First, place a slipper sole suitable for your shoe size onto the felt in your chosen color. Take your scissors and cut the first layer of the slipper heel according to the sole shape.
- Step: After cutting the first layer, take felt in your desired color and cut two more layers. You can increase the number of layers if you wish.
- Step: Once all layers are cut, set them aside. Next, to make the upper part of the slipper, place the felt in front of you, decide on the design (for example, a flower as shown in the image), draw it onto the felt with a pen, and cut it out.
- Step: After all parts of the slipper are cut, you can move on to sewing or gluing:
- Step: Attach the slipper sole and the first felt layer together neatly using silicone adhesive or by sewing.
- Step: After attaching the sole and the first layer, before sewing the second and third layers together, sew the fourth layer to the upper part of the slipper.
- Step: Once the layers and the upper part are sewn together, sew or glue the third and fourth layers together. However, it’s better to sew the top layers because if you use silicone, your foot may feel uncomfortable when wearing the slippers.
- Step: Finally, glue the second and third sole layers together using silicone.
- Step: After finishing the gluing process, it’s time to decorate your slippers. You can decorate them using felt in different colors or add other accessories. If you prefer felt decorations, you can make butterflies, flowers, or any design you like. Decoration is completely up to your imagination.
Felt Slippers
We’ve now come to the end of the felt slipper making process. You can easily make your own slippers using felt and decorate them however you like. You can make them for yourself, or as gifts for friends and family. Making felt slippers together with friends or family is also a great way to spend quality and enjoyable time.
If you’d like to try a different design, you can check out another felt slipper making tutorial on our blog. You can make them for yourself or together with your loved ones. Wouldn’t it be great to have fun together? Keep your feet warm during cold winter days!