Acoustic Felt Panel Installation Step by Step: Wall, Ceiling and Partition Applications
Meta description: Step-by-step acoustic felt panel installation guide. Professional tips and technical advice for wall, ceiling, and partition applications.
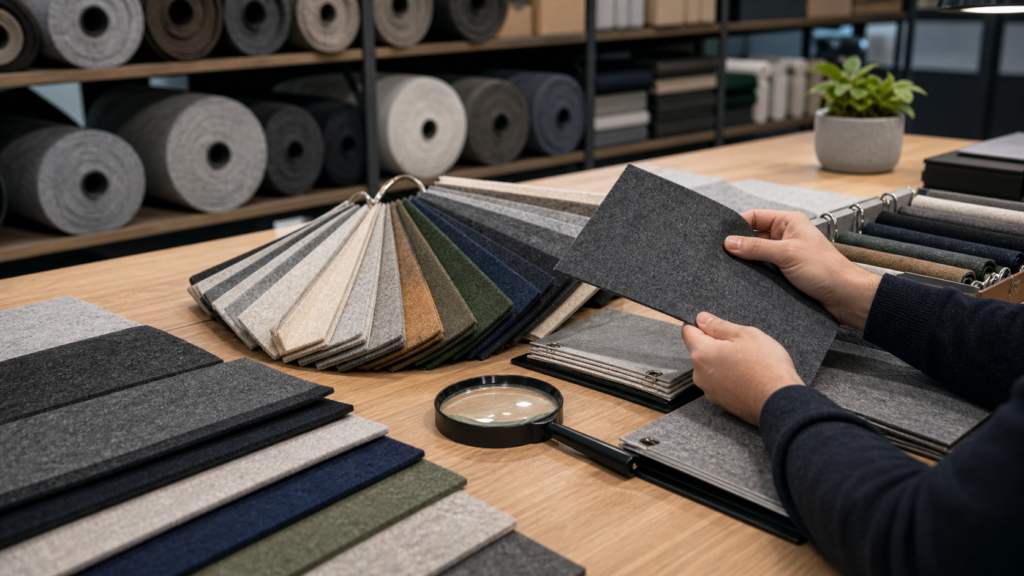
Preparing for Installation
Successful acoustic felt panel installation depends on preparation. Analyze the space size, ceiling height, intended use, and required sound absorption. NRC value, panel count, and layout plan are decided accordingly. Keçe Dünyası provides a free survey report including panel type and quantity recommendations.
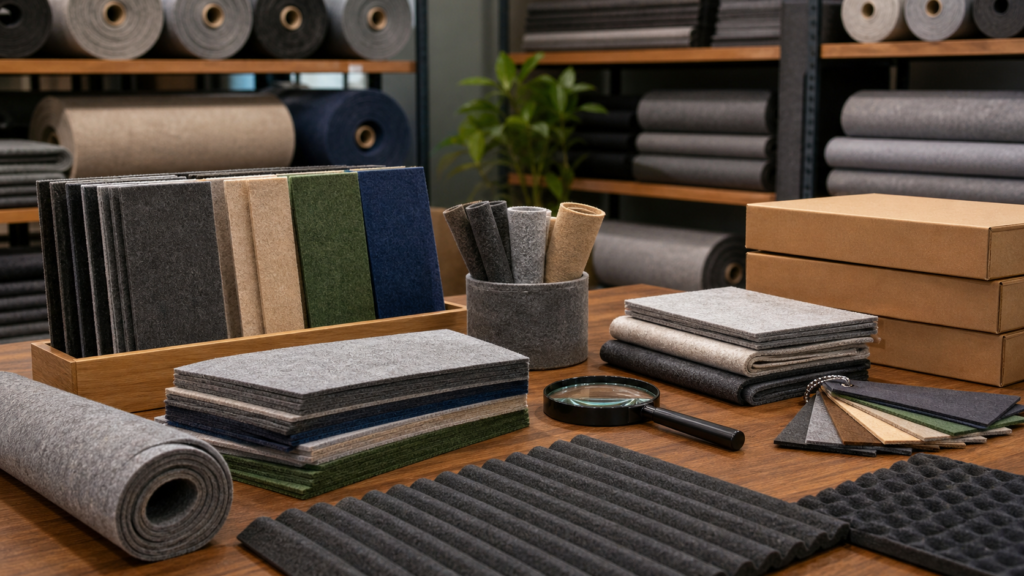
Required Materials
Acoustic panel, tape measure, level, pencil, utility knife, double-sided tape or acoustic adhesive, aluminum rail (for hidden mount), screws and dowels. Modular systems also use magnetic hangers.
1. Direct Wall Adhesion
The most common method. Clean the surface from dust, apply silicone primer if needed. Apply double-sided tape or foam adhesive to the panel back evenly. Mark a horizontal axis with a level and place panels in order. Fast and low-cost.
2. Aluminum Rail Hidden Mount System
Used in pro projects. Determine and fix the rail level on ceiling/wall. Panels with U-hooks on the back slide into the rail. This system allows future removal, transportation, or repositioning.
3. Ceiling Application
Preferred in halls, restaurants, and meeting rooms. Suspended-frame, T-bar system, or directly-glued modules are available. Horizontal precision is essential. Lightweight panels improve safety.
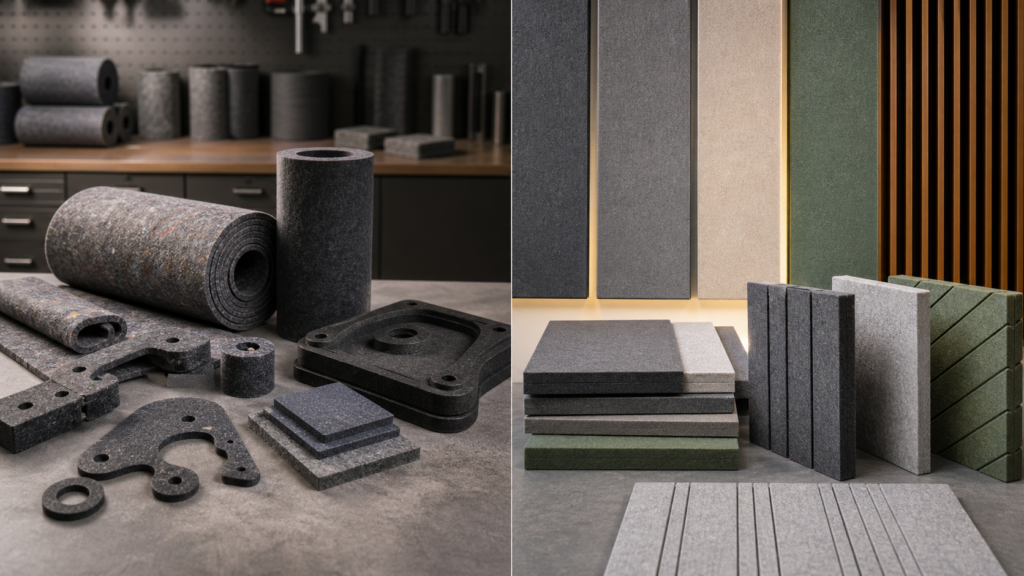
4. Partition and Divider Applications
Acoustic felt panel partitions are ideal for open offices. Double-sided clear glass + felt combinations give acoustic and visual privacy. Sliding dividers adapt to layout changes. Colored felt combos add aesthetic value.
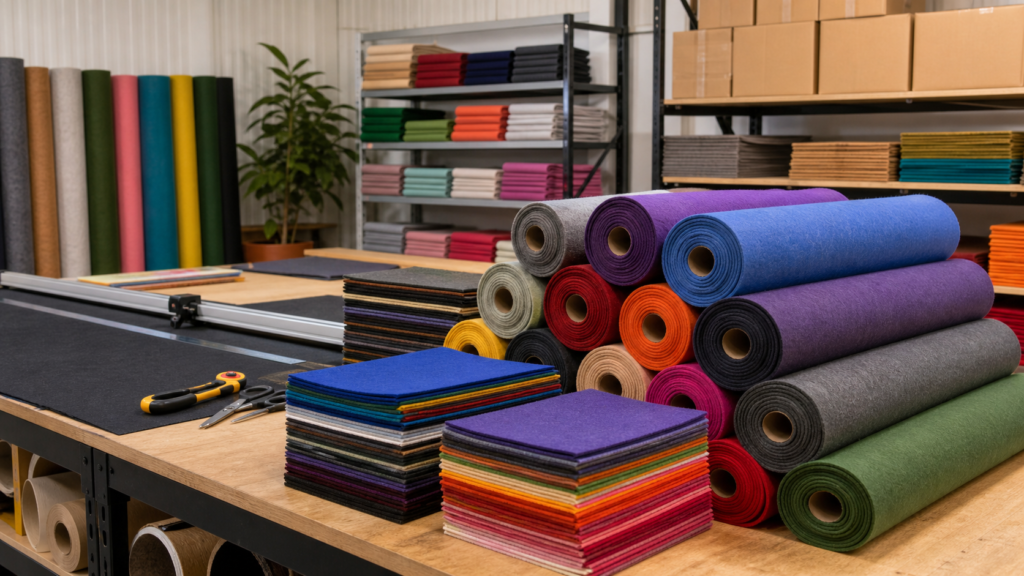
Extra Tips
Leave a 5 mm cutting margin at corners to preserve visual integrity. Avoid overlapping seams using alignment. Lighting affects perceived color — natural-white LEDs show colors most accurately.
Common Mistakes
Many believe panels must cover all surfaces. Strategic placement gives better acoustic results with fewer panels. Cheap adhesive shortens panel life. Using non fire-rated products risks legal compliance.
Measuring Room Acoustics
Professional installation begins with acoustic measurement. RT60 shows reverberation time. Ideal: 0.5-0.6 s in open offices, 0.4-0.5 s in restaurants/meeting rooms. Measure first to determine the right panel quantity.
Panel Placement Strategy
Targeting the most reflective surfaces is more efficient than covering everything. Usually opposite walls, part of the ceiling, and behind seating are critical points. Acoustic designers use laser tools to map them.
Choose the Right Manufacturer
Long-lasting installation depends on choosing the right product. Keçe Dünyası offers certified panels, installation guides, and optional on-site support. Contact kecedunyasi.com for quotes.