Felt Puppet Making for All Ages: Basic Steps and Tips
Felt puppet making is a fun art form that brings both adults and children together while developing creativity and hands-on skills. In this guide, we will walk through the felt puppet-making process step by step, using the colorful and flexible nature of felt—an activity that people of all ages can enjoy. This at-home project, which you can do as a family or with friends, will spark your imagination and may even open the door to a little theater stage in your home. Starting with the basic steps of making felt puppets, we will also share tips and tricks to help you bring out your creativity. If you’re ready, let’s begin this colorful and enjoyable journey!
The Basics of Felt Puppet Making: A Beginner’s Guide
Felt puppet making is a creative and educational activity that people of all ages can enjoy. In this beginner’s guide, we will cover the basic steps of felt puppet making and the important points to consider while learning this craft.
Material Selection: The first step in making felt puppets is choosing the right materials. Opt for high-quality, soft, and easy-to-work-with felt fabrics. Since color selection defines your puppet’s character, you may want to purchase felt in a variety of colors.
Tools and Equipment: Other materials you will need for felt puppet making include scissors, a sewing needle, thread, stuffing material, and optionally decorative elements. Depending on your creativity, you can embellish your puppet with additional materials such as buttons or beads.
Design Planning: Planning your puppet’s design is important. Decide which animal or character you want to create and draw a suitable template or find one online. The template will serve as a guide for cutting and sewing.
Cutting and Sewing: Carefully cut the felt according to your template and assemble the pieces. Sewing is a critical step for joining the parts and shaping your puppet. Be patient and meticulous during this process.
Face and Details: Your puppet’s facial expression defines its character. Add eyes, a mouth, and other details carefully. At this stage, you can glue or sew felt pieces to achieve a more durable result.
Final Touches: While adding the final touches to your puppet, let your creativity flow. You can personalize your puppet using felt pieces, thread, beads, and similar materials.
Felt puppet making is a process that requires patience and creativity. Being careful and attentive at each step will enhance the quality of the final result. With the puppets you create, you can tell your own stories, spend quality time with your children, or simply enjoy expressing your creativity. Starting with simple models and gradually moving on to more complex designs is the best way to learn this craft. Now, gather your materials and step into the magical world of felt puppet making!
Material Selection: Finding the Right Felt
In felt puppet making, the success of your project largely depends on the quality and type of felt you use. Choosing the right felt is an important step that will affect your puppet’s appearance, texture, and durability. First, start by understanding the variety of felt fabrics available. The felt on the market generally falls into two main categories: wool felt and synthetic felt.
Wool felt is made from natural wool fibers and typically has a softer texture. This type of felt is richer in terms of color and texture, but it is more expensive than synthetic felt. Wool felt is especially suitable for detailed and delicate work because it shapes well and maintains its form over time.
On the other hand, synthetic felts are made from artificial materials such as polyester and are generally more affordable. These felts offer advantages in terms of color variety and easy availability. However, synthetic felts can be slightly stiffer and less flexible than wool felt.
Another factor to consider when choosing felt for puppet making is thickness. Thin felts are ideal for more detailed work, while thicker felts may be better suited for larger and sturdier parts, such as the main body of the puppet.
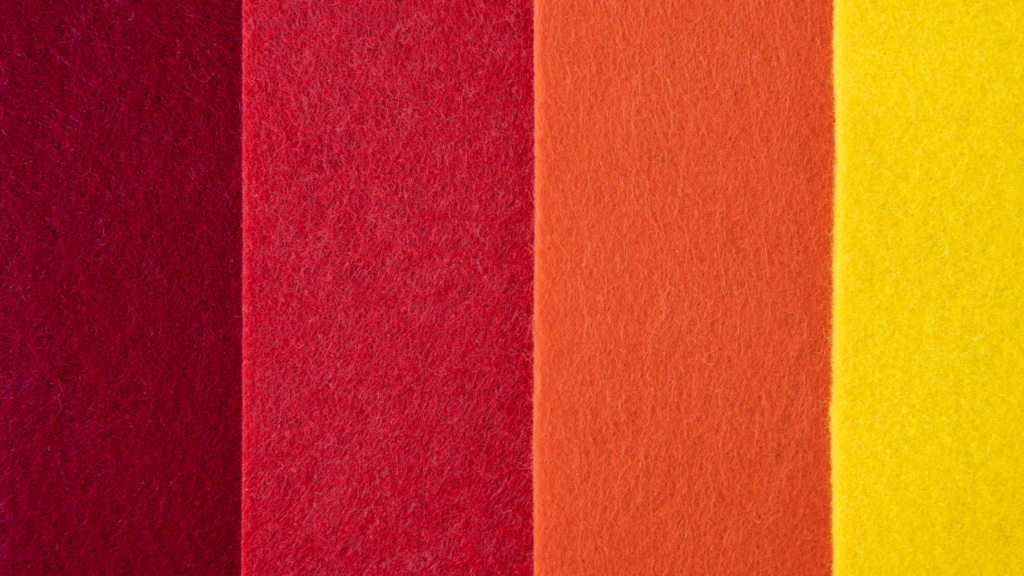
Color selection is also important. Choosing colors that suit your project will define your puppet’s character and expression. The vibrancy of the colors and how well the felt retains its color over time will affect the long-term appearance of your puppet.
When purchasing felt, it is a good idea to hold a sample piece in your hand to feel its quality and texture. This will give you a better sense of how the material will perform during crafting and use.
Finding the right felt is the first and most important step on the path to success in felt puppet making. Your material choice will directly impact your puppet’s quality, durability, and overall look, so choose carefully and let your creativity flow.
Patterns and Templates: Designing Your Puppet
In felt puppet making, the success of your project largely depends on the quality and type of felt you use. Choosing the right felt is an important step that will affect your puppet’s appearance, texture, and durability. First, start by understanding the variety of felt fabrics available. The felt on the market generally falls into two main categories: wool felt and synthetic felt.
Wool felt is made from natural wool fibers and typically has a softer texture. This type of felt is richer in terms of color and texture, but it is more expensive than synthetic felt. Wool felt is especially suitable for detailed and delicate work because it shapes well and maintains its form over time.
On the other hand, synthetic felts are made from artificial materials such as polyester and are generally more affordable. These felts offer advantages in terms of color variety and easy availability. However, synthetic felts can be slightly stiffer and less flexible than wool felt.
Another factor to consider when choosing felt for puppet making is thickness. Thin felts are ideal for more detailed work, while thicker felts may be better suited for larger and sturdier parts, such as the main body of the puppet.
Color selection is also important. Choosing colors that suit your project will define your puppet’s character and expression. The vibrancy of the colors and how well the felt retains its color over time will affect the long-term appearance of your puppet.
When purchasing felt, it is a good idea to hold a sample piece in your hand to feel its quality and texture. This will give you a better sense of how the material will perform during crafting and use.
Finding the right felt is the first and most important step on the path to success in felt puppet making. Your material choice will directly impact your puppet’s quality, durability, and overall look, so choose carefully and let your creativity flow.
Cutting and Sewing Tips: Essential Tricks for Working with Felt
In felt puppet making, cutting and sewing play a critical role in the success of your project. Below are some essential tips and tricks to keep in mind when working with felt:
Cutting Tips:
Use Sharp Scissors: Using sharp, smooth scissors ensures clean and even edges. When working with thicker felt, a larger and sturdier pair of scissors can make the process easier.
Follow Templates Carefully: When placing your templates on the felt, carefully follow the outlines. This helps ensure that the pieces fit together properly and prevents issues during assembly.
Cut Without Folding: Cutting felt without folding it ensures symmetry on both sides. Cutting folded felt often results in uneven or asymmetrical pieces.
Sewing Tips:
Choose the Right Thread: When working with felt, use thick and durable thread. Color selection is also important—the thread should either match the felt color or create a deliberate contrast.
Maintain Even Stitch Spacing: Sewing felt differs from sewing other fabrics. Keep your stitches evenly spaced and avoid pulling too tightly. Overly tight stitches can cause the felt to pucker and lose its shape.
Know Basic Stitching Techniques: Simple stitching techniques are sufficient for felt puppets. Running stitch and blanket stitch are the most commonly used methods. The blanket stitch, in particular, adds a pleasing decorative look to felt puppets.
Using Stuffing Material: If you plan to stuff your puppet, consider this before you begin sewing. Add the stuffing during the final stages of stitching and make sure it is evenly distributed.
Final Checks: After completing the sewing, ensure that all stitches are secure and there are no gaps. The durability of your puppet depends heavily on the quality of the stitching.
When working with felt, patience and attention to detail are essential. Taking care at every step will enhance both the quality and appearance of your puppet. Felt puppet making is a wonderful way to express creativity and develop handcraft skills. With these tips, you can enjoy working with felt and create impressive puppets.
Facial Expressions and Details: Bringing Your Puppet to Life
In felt puppet making, facial expressions and details are among the most important ways to give your puppet character and vitality. When designing your puppet’s face, you can consider the following tips to bring it to life and help it interact with the audience:
The Importance of the Eyes: Eyes are often considered the “soul” of the puppet and are the most eye-catching facial feature. When creating the eyes, you can experiment with different sizes and colors. The shape and placement of the eyes greatly affect your puppet’s expression. You can create eyes using buttons, beads, or specially cut felt pieces.
Mouth and Facial Expressions: The mouth is another key feature that defines your puppet’s expression. You can create various expressions such as happy, sad, surprised, or cheerful. The mouth can be made by cutting felt into shape or by stitching it with threads in different colors.
Eyebrows and Nose: Eyebrows add depth to your puppet’s expression. By cutting eyebrows in different shapes or embroidering them with thread, you can create a wide range of expressions. The nose is usually made in a simple way, using a small piece of felt or thread, and it adds a three-dimensional quality to the face.
Hair and Ears: You can add hair and ears to your puppet using felt in different colors and textures. These details give your puppet a more realistic and complete appearance.
Accessories and Extra Details: By adding accessories such as glasses, hats, or earrings, you can give your puppet a unique character. You can also enrich the details by layering felt pieces or incorporating different materials.
Use of Color: Color choice in facial expressions affects the overall look of your puppet. Bright colors can give your puppet a more energetic expression, while pastel tones can create a softer and gentler feel.
Experimental Approach: When working on facial expressions and details, experiment with different techniques and materials. Each puppet can have its own unique character and expression.
By keeping these tips in mind while designing your puppet’s facial expressions and details, you can give it a unique personality and expression. Facial expressions and details are one of the most effective ways to convey your puppet’s story and emotions. Be creative and bring your puppet to life!
Care and Storage: How to Protect Your Puppets
After making felt puppets, you can preserve their beauty and shape for many years by using proper care and storage methods. By following the tips below for caring for and storing your puppets, you can keep them looking as fresh and vibrant as they were on the first day:
Cleaning: Felt can easily attract dust and dirt. Maintain your puppets by gently dusting them regularly or cleaning them with a soft brush. If a stain occurs, lightly wipe it with a damp cloth. Avoid using harsh chemicals or strong detergents, as these can fade the felt’s color and damage its texture.
Protection from Moisture: Felt is a material that can be affected by moisture. Keep your puppets away from humid environments. If they do absorb moisture, dry them in a well-ventilated area without exposing them to direct sunlight.
Storage Conditions: Store your puppets in a place away from direct sunlight and heat sources. Sunlight can cause the felt’s colors to fade over time. When storing your puppets, place or hang them neatly in a way that helps maintain their shape.
Avoid Folding: If you plan to store your puppets for a long period, avoid folding them. Folding can distort the felt’s shape and cause permanent creases. Whenever possible, store your puppets flat or hang them.
Protection from Pests: Felt can attract pests such as moths over time. When storing your puppets, use mothballs or natural pest repellents to keep these insects away.
Regular Checks: Inspect your puppets regularly. Detecting any damage, stains, or deformation early is important for protecting them.
Repair When Necessary: If your puppet shows signs of wear or damage, repair it as soon as possible. Sewing or gluing felt pieces is usually a simple process and helps extend the life of your puppet.
By providing regular care and storing your puppets under proper conditions, you can ensure that they retain their aesthetic appearance and value for many years. These simple care and storage methods will be sufficient to keep your puppets looking like new.