+90 (544) 637 49 04
 bilgi@kecedünyasi.com



Felt Brooch Making
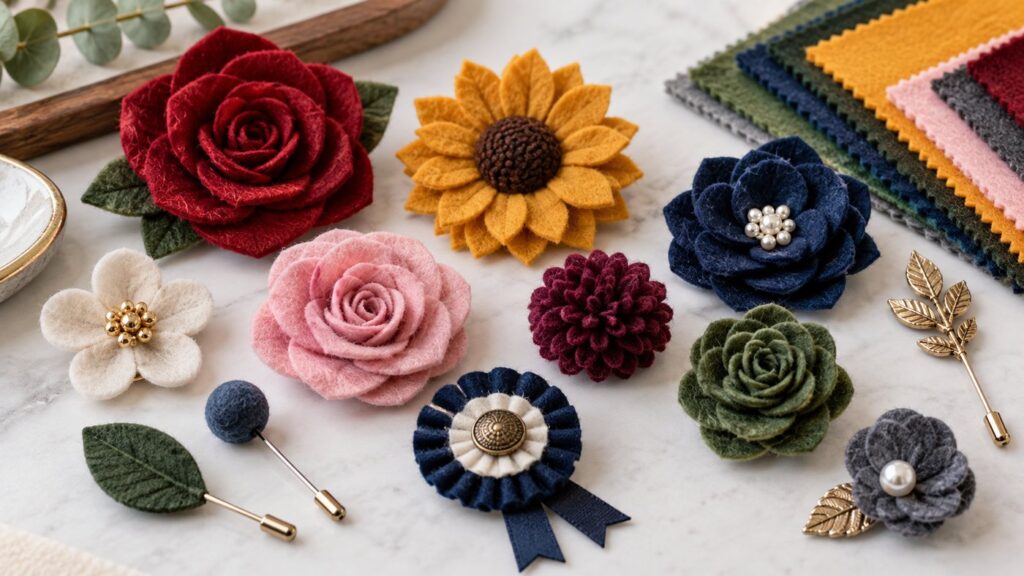
Brooches are decorative items, small or large, that you can use to embellish your clothing. The earliest known brooches date back to the Bronze Age. Over time, brooches evolved in different ways depending on the era they belonged to, and they have been made from various materials. In the past, they were generally crafted from metal, gold, and silver and were part of jewelry pieces adorned with many precious stones. Today, however, they are made from a wide variety of materials. In this article, we will give you information about making brooches from felt.
Today, brooches—produced in many different forms and designs—are still one of the most popular accessories.
If you enjoy decorating your clothes and buying accessories, how about making a brooch yourself this time? Wouldn’t you like to wear brooches of your own design, matched to the colors of your clothes and your personal style?
Using felt to make a brooch can be fun and different for you. Finding felt will not be difficult, as it is available in almost every craft supply store. Felt can be produced in many ways from natural or synthetic fibers and also has a wide range of uses.
Below, you can see the final version of our brooch.
Now that we’ve seen what the finished brooch looks like, we can start making it. The materials you will need are as follows.
Materials for a Felt Brooch
- Felt in different colors of your choice (4 colors will be sufficient)
- A safety pin suitable for attaching the brooch to your clothing
- Templates to keep the leaves neat and uniform
- Threads that match the colors of your felt
- Scissors
- Hot glue gun
- Sewing machine
- Tailor’s chalk
Now that we’ve gone over the materials, you can move on to our felt brooch making instructions.
How to Make a Felt Brooch
If you think you won’t be able to draw the leaves neatly, you can get leaf printouts like these from a stationery store.
Once your leaves are ready, you can move on to the cutting stage.
Place the leaves you cut onto the felt and trace them onto the felt using tailor’s chalk. After cutting the first leaf you draw, you should draw and cut one more, because the leaves will be sewn together.
Repeat this process for each leaf pattern you choose, making sure each design is cut as a pair from the felt colors you selected. Once all are cut, the result will look like the image below.
Now it’s time for the sewing stage. Using thread in similar tones to your felt, you can begin sewing. After securing the felt pieces together so they won’t slip, you can start sewing with your sewing machine as shown below.
If you don’t have a sewing machine, you can also sew them neatly by hand after securing the felt pieces properly.
After sewing the felt pieces together, you can use tailor’s chalk to add leaf details onto the felt as shown below.
Once you’ve added the details, you can sew them either by machine or by hand.
You can also see how this process is done in the image below, where the steps are marked with numbers and arrows.
First, sew stitch number 1 from bottom to top (toward the main line), then go back a few stitches (figure 2). Sew from one side of the main line and from behind (steps 3 and 4), then repeat on the other side (steps 5 and 6). After that, sew a few stitches downward over the main line (step 7), then repeat steps 3, 4, 5, 6, and 7 until you reach the end of the path.
This stitch can be done by sewing in the correct direction, turning the wing in the direction of the stitch, or sewing back and forth—whichever feels more comfortable for you. The finished piece, with excess fabric trimmed from the edges, is shown in the image below.
You don’t need to be extremely precise when sewing the lines or make sure all stitches are perfectly aligned; as long as the lines look as they should, slight deviations are fine.
You can also use the leaves for other projects you may like.
Now you can create a beautiful brooch using the finished leaves.
Next comes the gluing stage. Using your hot glue gun, you can glue the leaves together.
Now it’s time to attach the brooch pin to the back of your brooch. Turn the brooch over and mark where you will glue the pin using tailor’s chalk. Then, use the hot glue gun to attach the pin to the back of the brooch as shown below.
If you don’t want the glue to be visible from the back of the brooch, cut a round piece of felt that matches the size of your pin.
You can cut the round felt like this and place it over the pin as shown below.
We’ve come to the end of our autumn leaf–themed brooch. Making a brooch is very simple and exciting. The possibilities for different designs are endless, and sometimes a single brooch is enough to make your outfit look more beautiful and interesting. How about getting some felt and making a brooch yourself?