+90 (544) 637 49 04
 bilgi@kecedünyasi.com



Making Promotional Felt Bags
Making promotional felt bags has become very popular in recent years, as felt is a fabric with a wide range of uses. You can create many different and versatile products from felt. At the same time, felt is a durable, moisture-resistant, and thermally insulating material. It can be made from both natural and synthetic fibers. Since both sides are the same, it can be used double-sided. For this reason, working with felt is both fun and easy. There are many things you can enjoy making with felt.
For example, in this article we will talk about making a promotional felt bag. Wouldn’t you like to make the bag you see in its final form below? It will be fun to make and you will have an enjoyable time. In fact, if you enjoy creating things with felt, you can even earn income in a great way.
Before explaining how to make the bag, seeing its final form may excite you even more. Now that you have seen the finished bag, we can begin.
Materials Required to Make a Felt Bag
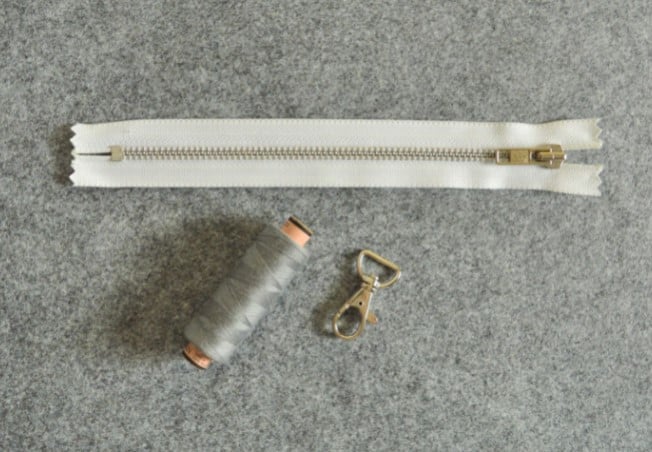
- 1 meter of felt (the fabric used was 0.46 m wide and 4 mm thick)
- 1 zipper, 20 cm long
- 2 cm carabiner
- Thread matching the color of the felt
The finished size of the bag will be 40 × 34 cm (W × H) and the bottom will be 8 cm. The handles are approximately 21 cm long.
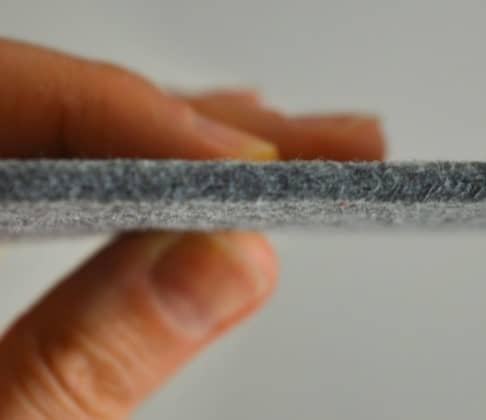
This bag was designed to be made using only one piece of felt, which is why 4 mm thick felt was used. If you also use felt of this thickness, the construction will be easier. However, there may still be some challenging parts when working with this felt: it is a sturdy material with limited flexibility, which can cause minor issues during sewing and may require some experience working with similar materials.
The thickness of the felt will be as shown in the photo.
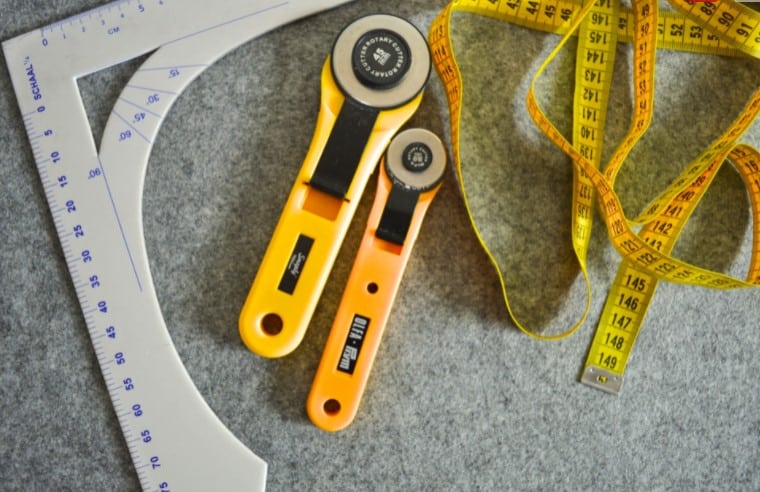
Your materials will be as shown in the images above. You can choose the felt color according to your preference for the bag. In addition to the basic materials mentioned, you will also need the following:
- Sewing machine
- Sewing clips
- Needles
- Scissors
- Rotary cutter
- Tailor’s chalk
- Ruler
- Measuring tape
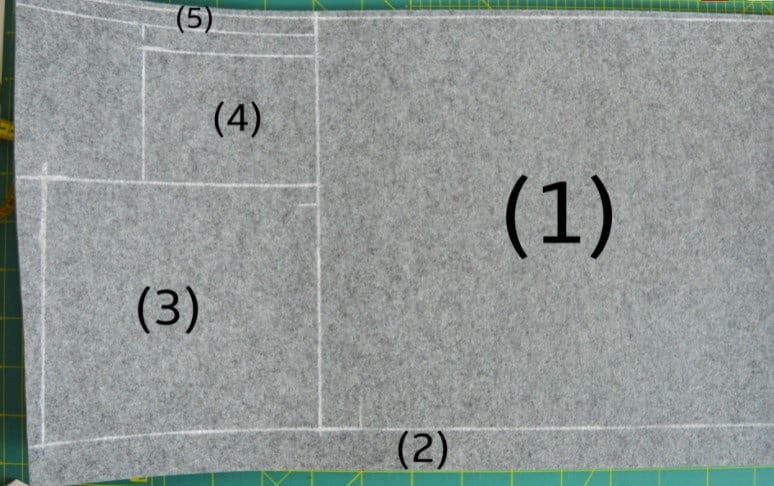
The measurements of the felt pieces you will use to make the bag are as follows:
- Bag body: 41 × 76 cm (W × H)
- Handles: 2 pieces, 4 × 50 cm
- Zippered pocket (inner piece to cover the zipper): 25 × 19 cm
- Small pocket: 17 × 13 cm
- Carabiner strap: 1.5 × 24 cm
Seam allowances (where required) are included in the measurements given earlier and are 0.5 cm.
First, using tailor’s chalk, draw all pattern pieces on one side of the felt (the side you will not use).
Cut out the pattern pieces using scissors or a rotary cutter. If you do not have experience cutting felt, be careful, as even a small mistake can cause the felt to be cut incorrectly.
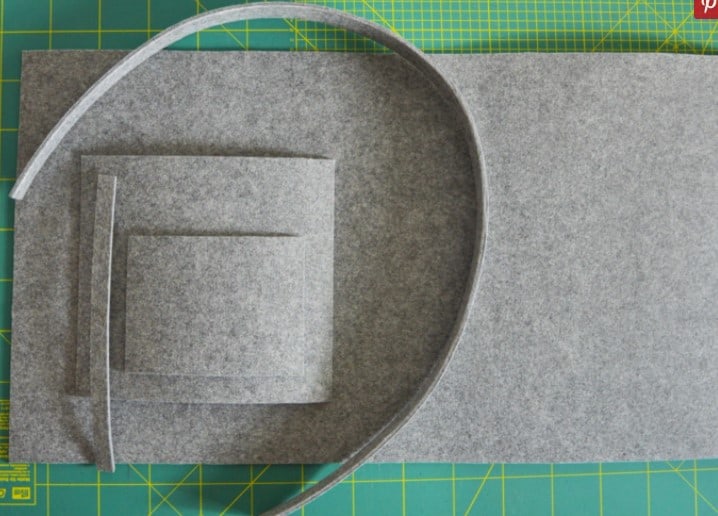
After cutting the pieces, they will look like this. Now that the pieces are cut, we can start assembling the bag.
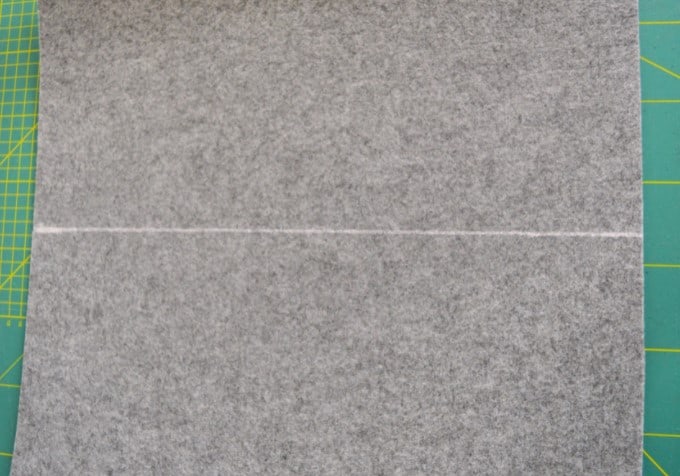
Fold the felt in half as shown above and draw a center line.
From each side, cut rectangular shapes as shown in the image above. Now you can draw the zipper opening. First, measure 10 cm down from the top of the bag and draw a line parallel to the top edge. The zipper is 20 cm long, so you need to find and mark the center of the drawn line, then mark 10 cm to the left and 10 cm to the right from this point. From these two points, mark 0.5 cm up and down.
Before inserting the zipper, draw the measured area using tailor’s chalk and cut it out with a smaller rotary cutter.
Then secure the zipper as shown above. You can also use adhesive tape to prevent the zipper from shifting.
Now you can start sewing the zipper. Sew all stitches on the right (outer) side of the bag.
- Zipper foot: No. 4
- Stitch type: Straight stitch (No. 1)
- Stitch length: 3
Adjust and start sewing as shown above. After sewing this piece, once all parts are ready, you can begin sewing the pieces together.
You can secure the pieces together with pins as shown. Also, do not forget to leave a 3 cm opening, as shown above.
After aligning the pieces, you can proceed to the sewing stage. Sew using reverse pattern foot #1, straight stitch #1, and stitch length 3.
Now that the zipper construction is complete, you can sew the inner pocket onto the bag and also cover the zipper section visible on the back.
Cut two pieces of felt as shown in the photo. For the felt piece with the carabiner attached (shown on the far left), cut the felt to twice the visible length, as it will be folded in half and sewn. You can continue by following the construction shown.
Place the finished piece on the wrong side of the bag (inside), at the zipper area, 8 cm down from the top edge, making sure that the center of the bag body aligns with the center of the piece. Pin it in place.
Turn it to the right side, pin again, and mark the seam edges for the pocket as shown in the image below. Sew from the outside, because the felt layers under the presser foot tend to shift; if sewn from the inside, the stitch lines will not be straight and will not look neat.
Use reverse pattern foot #1, straight stitch #1, stitch length 3 (move the needle to the far-right position). After securing, start sewing from the points you marked with tailor’s chalk as shown above.
Now it’s time to work on the bag handles. You have cut 2 pieces measuring 4 cm wide and 50 cm long. As shown in the image above, mark 7 cm from the ends of these pieces.
Then, fold them in half using clips as shown above and sew. However, do not fold the 7 cm marked sections in half.
Use reverse pattern foot #1, straight stitch #1, stitch length 3 (needle moved to the far-right position). The finished handles are shown in the images below.
Your handles will look like this when finished.
Next, you will sew the handles onto the top of the bag. The images below show how to do this.
Now adjust your stitch lines, measurements, and positioning, and sew the handles onto the bag.
Sew using zipper foot #4, straight stitch #1, and stitch length 3.
Because the felt is thick, decorative stitches are not possible, but you can sew using the stitching method shown above. The result looks very nice with these two seams.
After finishing the handle attachment, all that remains is sewing the sides of the bag together.
Secure the bag using clips and start sewing.
After completing the sewing, you will see that there is a gap left like this.
After bringing the pieces together with clips as shown, sew that section from the outside as well. Since the felt is thick, this part may be a bit challenging, but the final result will be worth the effort.
You have now reached the end of making a promotional felt bag. Your bag looks great, doesn’t it? You can also make this bag without the inner pocket, which will be simpler. Even if the process felt a bit challenging, the result will be excellent. How about rolling up your sleeves and making your own promotional felt bag?
If you are thinking of making and selling promotional felt bags, we handle your brand printing as Emrah Lazer, making the process easier for you.